Film photography
In early 2000s, when I got my first digital camera, I never looked back to the old, basic film cameras that my parents used to take photos with when I was younger. Digital cameras were the only way to get decent photos as mobile phones with cameras were yet to become popular. Things changed a lot since then and taking a photograph has become like a second nature, muscle memory. But I guess I’m too nostalgic and sentimental to be that involved in this new, shiny technology.
How I got into film photography
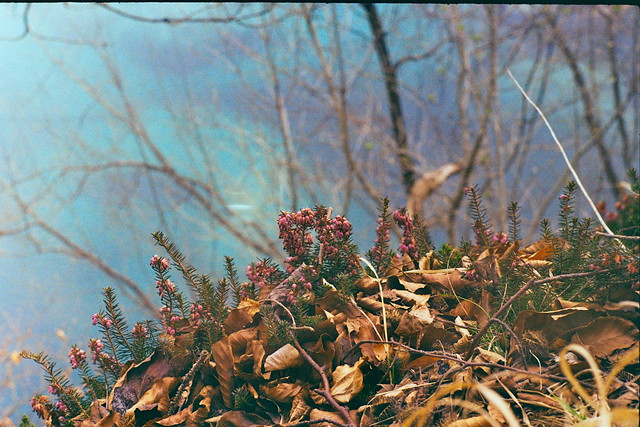
I would have continued focusing on digital photography unless my significant other and I didn’t get our hands on an analogue Zenit 11 and a few old rolls of film back in late 2015. We took the camera with us on a hike and experimented with the two different lenses we had. Everything was good until I lost track of the number of photos because I hadn’t set the frame counter dial. The film had ended and pressing the advance lever too strongly tore up the role of film so it couldn’t be rewound. In those situations the best thing to do is to take the camera to a professional studio but I didn’t know it back then - upon opening the back to see what’s up we ended up losing all of the photos. Some time passed and while we were at the seaside on a gloomy autumn day, my significant other spent an entire roll on photographing the fog, crawling above the autumn leaves and the sea. This time we had success with the rewinding and got the film developed. It had been such a long time since I had seen analogue photos but these had turned out pretty good. After that day I got more and more into it and a few years later it’s still a little hobby of mine which I practice mostly out in the nature or during trips.
Film vs. digital
Although digital photography is predominant these days, film photography is still a thing. I use both methods as each one has advantages and disadvantages but here are some of my favourite things about film photography:
It looks so good
I was one of those people searching for the perfect Photoshop/Lightroom tutorial to make my digital photos look like they’ve been taken on film. Was it working? Sometimes I used to get decent results. Was it necessary? No, it just doesn’t feel right ruining high quality photos by applying restrictions and imperfections that belong somewhere else. Film photography gives you this lovely nostalgic look that works like a time machine.
Quality over count
Rolls of film typically have 24 or 36 exposures which compared to digital cameras sounds limiting. But it’s this limitation that makes you stop for a moment and think about what exactly you want to capture.
Surprising result
It’s always exciting to see the results as it’s usually days, even weeks, between you taking photos and receiving your freshly developed film and prints. Seeing those for the first time is exciting and satisfying like looking through an old album you have completely forgotten about.
Perfect in its imperfection
Back in the days when people didn’t have digital cameras nobody cared about taking a perfect shot. It’s hard to imagine it now as we’re so used to cluttering our smartphones with many photos of the same object, trying to capture it as well as possible. But if you flick through an album with photographs from the 1990s or earlier, you will see how unintentionally perfect they are. And, oh, the light leaks!

No electricity required
Some analogue cameras can be a bit too heavy and bulky but at least you don’t have to think about batteries and chargers. In fact, the whole process from taking a photo to getting it printed can be done with no electricity.
It’s all about the hardware
Cameras and lenses
I have used two film cameras so far - Zenit 11 and Smena 8M. They’re old, analogue and Russian but that’s not hard to figure out once you see them. Zenit 11 is a heavy and tough SLR camera. It is completely manual but the mechanism is quite simple - there is a build-in Selenium cell lightmeter that helps you choose the proper speed for the chosen aperture or vice versa. There is also a manual ISO-speed switch which should be set according to the ISO of your film.
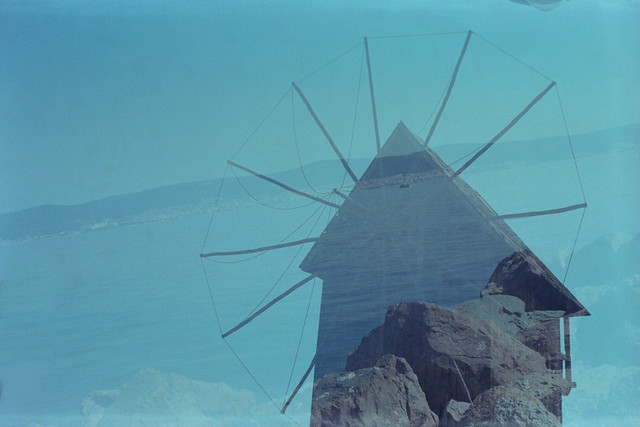
Smena 8M is a low-cost camera, produced to be accessible to the public. It’s very toy-like and completely manual, in fact so manual that the winding of film is separated from shutter cocking. And that is lovely because you can easily make multiple shots without advancing the film - the so-called multiple exposure photos. One of the biggest pros of this camera is that it’s really light, especially compared to the Zenit 11, which makes it a good choice for trips. I’m still having troubles figuring out the manual focus which is marked with distances but I’ll continue experimenting.
Lenses
I’m no expert in lenses so I’ve been using what I already have with my Zenit 11. The mass produced Soviet Helios 44M-4 58mm f/2 is my usual choice because it works perfectly for most of the photos I take so it’s my “stay-on-camera” lens. It has a really nice medium tele range and although the sharpness might not be that great, the bokeh is very bokeh-licious and the overall quality is very good.

The East German Carl Zeiss Jena Sonnar MC 135mm f/3.5 has an amazing build quality. Although a bit heavy for its length of 8 cm, it’s still smaller than comparable telephoto lenses. The overall quality is good, sharp in the center with smooth and soft bokeh.
Films
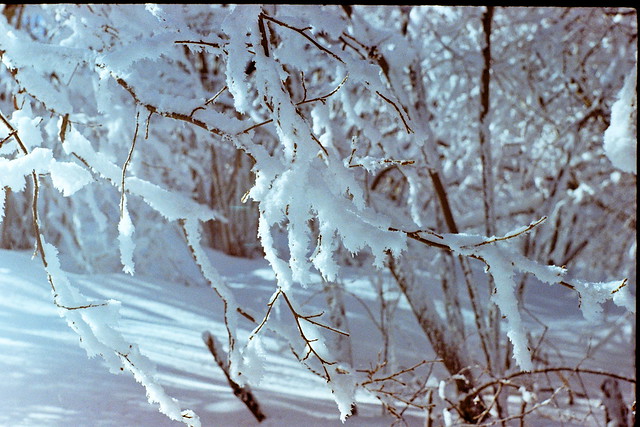
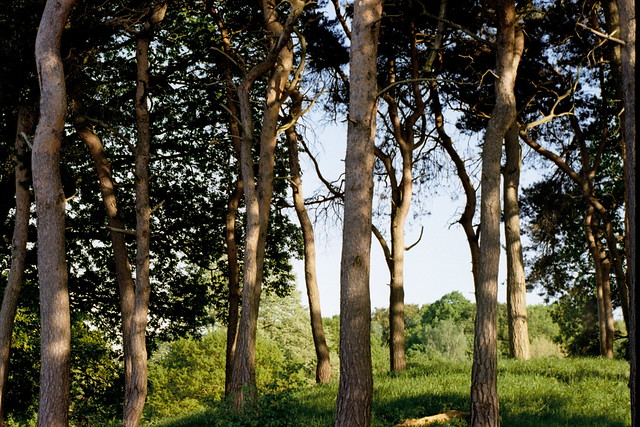
Fujicolor 200 is one of the most common cheap films that can be found everywhere. It renders quite balanced colours, although the greens are one of its strongest points. The reds are a bit muted and the same applies for the contrast. Blue and yellow tones are true to colour. Overall a decent film for everyday use.


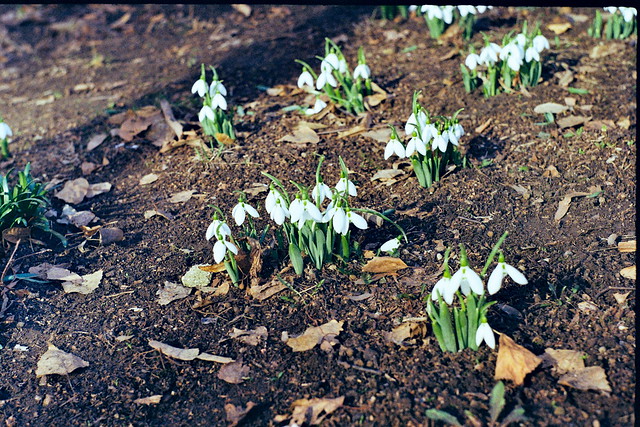
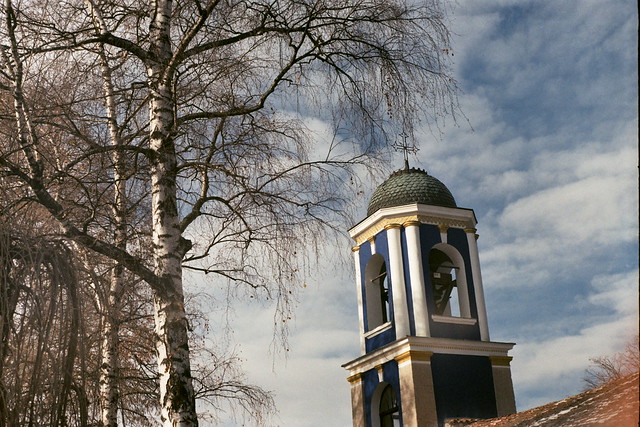
Kodak ColourPlus 200 is Kodak’s analogue of Fujicolor 200, price-wise. The main difference is the warmth - Kodak ColorPlus 200 is soft, with yellow and green tones slightly warmer than in real life. Blues and reds are vibrant and mostly true to colour, however, reds can sometimes look a little orange. Overall, very pleasant warm colours and good for everyday use.


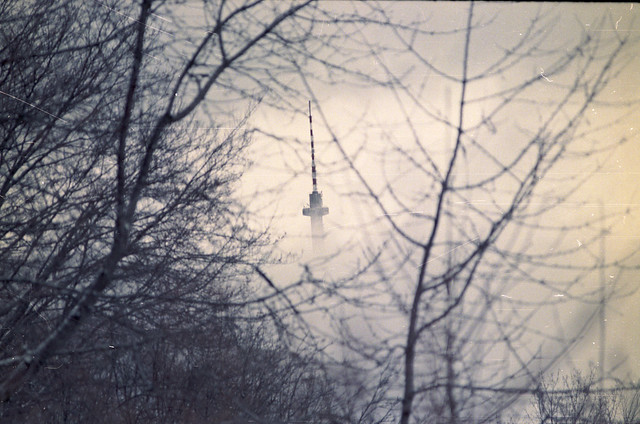
Fujicolor Superia 200 is the other consumer option by Fuji, considered more “premium”. The reds, greens and blues are usually intense, while the yellows are more neutral and maybe even a little dull. Just like Fujicolor 200, Fujicolor Superia 200 is a balanced film with green/blue tones but with more vivid colours and contrast. The rolls that I used were expired but performed well.

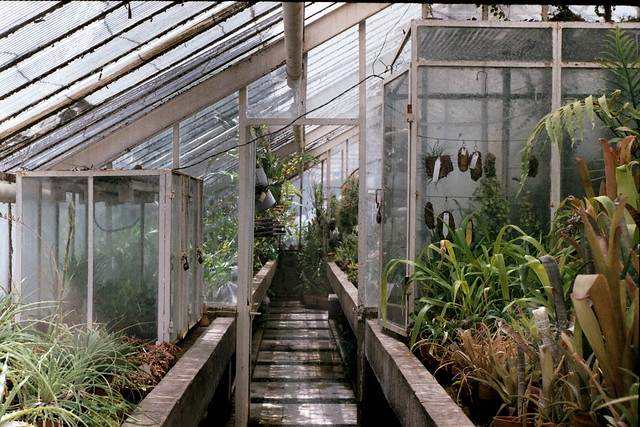
Kodak Gold 200 is Kodak’s “premium” consumer film. It’s a type of film which I only recently tried and I have finished only one roll of it. Colours come out a bit too saturated, especially the yellows and blues which gives it a very vintage, almost lomo effect. The greens and reds might be a bit muted and the contrast is higher.